How to edit Joomla configuration file

This is just a quick guide on how you can edit the configuration file in Joomla. This is useful when you have recently changed your mysql database password. And whenever you access Joomla in your localhost, it says that it cannot connect to the database.

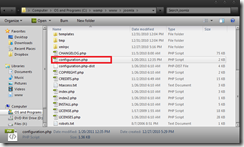
To edit the Joomla configuration file, just open up the folder where you have installed Joomla. Mine is in:

C:wampwwwjoomla

Then open up the configuration.php file on a text editor.

image

We are only interested in the final parts of the file. I’ve already commented the important parts that you may need to modify:

var $db = 'joomladb'; //this is the database where all the data used by joomla is stored
var $dbprefix = 'jos_';
var $mailer = 'mail';
var $mailfrom = 'vbdotnetnrew@gmail.com';
var $fromname = 'JoomlaTesting';
var $sendmail = '/usr/sbin/sendmail';
var $smtpauth = '0';
var $smtpsecure = 'none';
var $smtpport = '25';
var $smtpuser = '';
var $smtppass = '';
var $smtphost = 'localhost'; //host, its usually called localhost. Since the Joomla CMS is hosted on your local computer
var $MetaAuthor = '1';
var $MetaTitle = '1';
var $lifetime = '60';
var $session_handler = 'database';
var $password = '1234'; //password, this is the one that you may want to change depending on your current mysql database password.
Installing Joomla part 2

This is the second part of the tutorial on how to install Joomla.

I’m not going to discuss the FTP Configuration in detail here. You’ll have to search somewhere else if you want to have an FTP server work with this Content Management System.

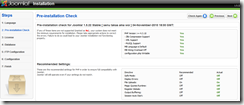
All you have to do now is to click ‘next’ then next again until you get to this screen:

image

As you can see above, it says that you need to delete the installation directory in order for this one to work. Just navigate on the folder where you put Joomla. Mine is in:

C:wampwwwjoomla

Just find the folder named ‘installation’ and delete it.

image

You’ll see something like this if you haven’t deleted the installation folder yet:

image

Once you have deleted that you’re now ready to go to the administration panel. To do that, just type in:

localhost/joomla/administration

The joomla depends on the name of the folder you have included in the web accessible directory.

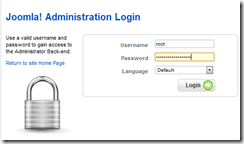
You’ll see something like this if you succeeded:

image

If you’re like me, and you have forgotten what you have inputted a while ago then you can find the username on PhpMyAdmin or MySql console if you wanna get fancy.

Just navigate to the name of the database you have inputted a while ago. Then click on jos_users. The first user their would be the administrator. The password you will find is not the password you’ve inputted since the password that is stored is being encrypted. You’re out of luck if you have forgotten the password.

image

After you have succeeded in logging in, you’ll see something like this:

image

That’s the admin panel where you can get fancy performing different content management system related action without actually knowing how to code in php or ruby or python.


Conclusion

That’s how you install Joomla. There won’t be any part 3 for this one. Since it only covers the Joomla installation. I might make other tutorials like this for Joomla so stay tunedSmile

Installing joomla part 1

Joomla is a content management system that allows non-programmers to create their own websites.

This article is only intended for windows-users who are using wamp.

Here’s how to install joomla:

First you have to download the full package of joomla from joomla.org

After that, extract the zip file and copy it into a web accessible folder.

Rename the joomla folder into something more comprehensive, like joomla or cms. Whatever you wish. After that, launch wamp, then open your browser and type in:

http://localhost/joomlafolder

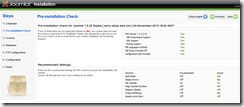
Click next. And you’ll see this screen:

image

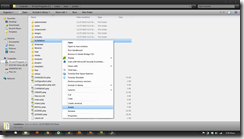
It is recommended that you will only see green colored labels in the checking of php features that should be disabled/ enabled. So if you see something like the one above, then you must change your php settings. To do that, follow the screenshot below:

image

Your configuration should exactly look like the one above to yield this one:

image

Now click next, until you see something like the one below:

image

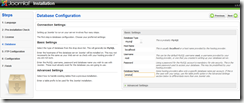
As you can see, you need to include your database server information. The one in the screenshot above is the default one. Except for the database which is ‘onstor’. You must make your database first using either phpmyadmin or mysql console if you don’t already have one. Don’t forget to put tables in your database.

That’s all for part 1. Check out part 2 for the continuation of this article.